Crow Pose (Bakasana) is probably the most accessible of all the arm balances, so it's a great place to start if you are new to standing on your hands. It’s a gateway pose that will open up a whole new world of arm balances and inversions.
When I first started yoga I had some flexibility but zero strength! I enjoyed all the stretchy hip opening poses, but would freak out if I had to do any kind of upper-body strength work.
As such, Crow Pose took A LOT of work for me. I had many failed attempts, tumbles, crashes and belly flops, but with lots of practice, patience and persistence I finally managed to find that moment of airtime.

How to find that crow pose 'sweet spot'
It's a fine line between leaning too far forward and not leaning enough. You will fail many times before your body learns what not to do and your muscles memorise their exact centre of balance.
Here are my top exercises to build the foundation of your pose and help your crow take flight.
Warm up your wrists
Always warm up your wrists before attempting any balance on your hands. I recommend you do all of these moves for at least 12 seconds:
1. Circle both wrists in big circles, clockwise and anticlockwise (12 seconds in each direction).
2. Fully extend the fingers, then immediately close the fingers to create fists. Repeat.
3. Stretch your fingers of one hand back towards your elbow, using your other hand as a lever. Hold in this position - you should feel the stretch in the front of your wrist.
4. Clasp your hands together in front of you. As you drop the right wrist, lift the left wrist. Then mirror the movement by lifting the right wrist and dropping the left wrist. Continue moving in this way as one fluid movement.
5. Gently shake out your hands and wrists, you should really feel the blood flowing by now.
Get into Cat Pose (Marjaryasana)
1. Come onto all fours, with your arms straight and your shoulders directly above your wrists
2. On an exhale, push down strongly into your palms, start to tuck your tailbone under and round the back body up towards the ceiling
3. Remember to engage your core - you should feel the front side of the body become hollow as you draw your belly button in towards the spine.
How to practice your Chaturanga
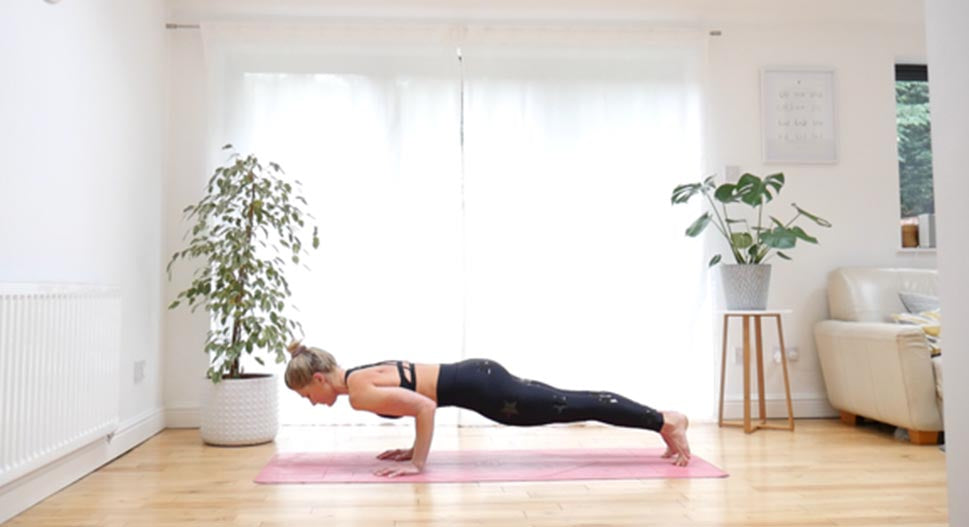
Chaturanga is the foundation to a Crow Pose. Check that you are doing it correctly:
1. Start in a high plank position
2. Slowly lower towards to floor by bending your arms. Aim to create a 90 degree angle in the elbow joint and remember to keep your elbows hugged in toward the ribcage - don’t let them splay out to the sides.
3. Once lowered, hover your body just above the ground rather than letting your chest hit the floor. Your elbows should be directly above the wrists, with the upper arms and chest parallel to the floor.
How to do Reclined Crow Pose (Supta Bakasana)
It's a good idea to first practice making the shape of the full Crow Pose whilst lying on your back. By taking out the balance element, it allows you to get a real feel for the correct positioning of your body.
1. Lie on your back, looking up with your arms straight and your palms facing the ceiling.
2. Bend your knees and bring them in towards your armpits. Try to rest your knees against your triceps
3. Lift your head and shoulders off the floor, engaging your core and strongly pushing the hands away from you.
Voila! You are magically in a Crow position (even if it is upside down)!
Crow Pose (Bakasana)
With your feet slightly wider than hip width apart, come into a nice little squatting position (aka Malasana). Now place your hands flat on the floor. Make sure they're shoulder width apart, with the fingers spread wide.
- Think “Chaturanga arms” - bend your elbows, keeping them tucked in close towards your ribcage. The aim is to create a shelf with the upper arms, that is parallel to the ground.
- Push the shoulders forwards, past the line of your wrists. Make sure to keep drawing your shoulder blades down so that you are not hunched.
- Squeeze your knees in - so they're either wrapped around the outer upper arms or eventually snuggled all the way up into the armpits.
- Contract your core strongly and round your back. Remember your Cat Pose!
- Look slightly ahead and slowly take the weight forwards, lifting up onto the toes.
- Try lifting one foot for 5 breaths, then switch to the other foot for 5 breaths... then maybe both feet!
- Don’t forget to breathe
TOP TIPS FOR A STRONG CROW POSE
- Keep the chest lifted and the gaze ahead to counter the balance. If you let the head drop, chances are you will topple forwards and land on it!
- If you struggle to get the feet off the ground, it may be because you aren’t leaning forwards enough. The further you can shift the weight forward, the lighter the legs will become. It's like tipping the scales.
- Once you find balance in the air, work your arms towards straight and your heels towards your butt. Point the toes and bring them together to meet.
- Engage your core throughout. This will help you find strength, lift and balance.
- Protect your wrists. If you notice you get tender wrists, be mindful of how and where you place your hands.
- Feel strength through every finger tip. Spread the fingers wide, grip the mat and find control with your fingertips.
- While learning, try placing yoga blocks under the feet and a pillow below your face. This will give you a safety net for practicing, so you can confidently get an idea how the final posture should feel.
- If you’re feeling adventurous try hopping back from a crow pose, shooting the legs straight back to Chaturanga. Keep your hips high, core engaged and shoulders stable. Another great advanced flow is from Crow Pose into headstand.
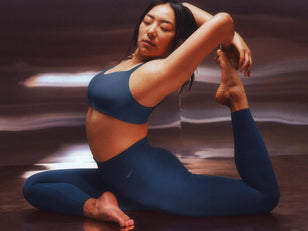
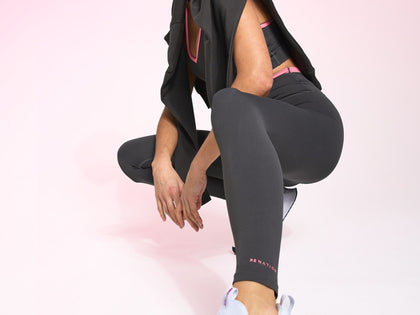
- Wear comfortable yoga clothing that is lightweight, breathable and moves with you. It's important not to have any restrictions or distractions. My current favourite leggings to practice in are my Ultra Lux Knockout Leggings (pictured) from Ultracor.
Practice, practice, practice
It can be a little intimidating at first, but the only way to improve your confidence and skills is to try it again and again and again! Don't wait for tomorrow, start practicing now.
Be patient
You will probably face plant a few times before your crow finds its wings. Everyone falls, thats what makes it exciting. It doesn't mean you failed, it means you're pushing yourself and learning. Plus you are pretty close got the ground in this pose, so the risks are minimal.
Be brave
Trust in your body and what it is capable of. Be a brave yogi!
You may find little bruises (war wounds) on your triceps when you are learning, but don’t panic - these are just proof of all your hard work.
While the upper body strength required might seem overwhelming at first, once you grasp the pose it will honestly start to feel lighter. When you find your balance in Crow Pose, you’ll be able to recruit more core strength, resulting in less pressure on the shoulders, arms and wrists.
Don't forget to have fun
Crow Pose may be hard, but the challenge of practice and learning is also super fun. With each progression, you will earn yourself a smile. Enjoy!
Check out our top 7 moves for safely learning the splits >
Maximise your performance on the mat with our dedicated yoga collection >

